


Cross chain swap options for Stacks to GateToken

stx logo
STX
STX
gt logo
GT
ETH
Tukar

Volatility and changes

Range24 hours7 days30 days90 days
High24H0.0302 GT7D- GT30D- GT90D- GT
Low24H0.0289 GT7D- GT30D- GT90D- GT
Average24H0.0295 GT7D- GT30D- GT90D- GT
Change24H-2.48%7D12.58%30D-12.9%90D13.27%

Convert Stacks to GateToken

STX logo
STX
GT logo
GT
1 STX
0.028982 GT
Exchange1 stx to 0.03 gt
5 STX
0.144912 GT
Exchange5 stx to 0.14 gt
10 STX
0.289825 GT
Exchange10 stx to 0.29 gt
25 STX
0.724562 GT
Exchange25 stx to 0.72 gt
50 STX
1.449123 GT
Exchange50 stx to 1.45 gt
100 STX
2.898247 GT
Exchange100 stx to 2.9 gt
500 STX
14.491234 GT
Exchange500 stx to 14.49 gt
1000 STX
28.982468 GT
Exchange1000 stx to 28.98 gt

In the table provided above, you'll find a comprehensive STX to GT converter, demonstrating the relationship between the value of Stacks and GateToken across various frequently used conversion amounts. The list encompasses conversions from 1 STX to GT all the way up to 1000 STX, offering a clear insight into their respective values.

Convert GateToken to Stacks

GT logo
GT
STX logo
STX
1 GT
34.503618 STX
Exchange1 gt to 34.5 stx
5 GT
172.518088 STX
Exchange5 gt to 172.52 stx
10 GT
345.036177 STX
Exchange10 gt to 345.04 stx
25 GT
862.590442 STX
Exchange25 gt to 862.59 stx
50 GT
1725.180883 STX
Exchange50 gt to 1725.18 stx
100 GT
3450.361767 STX
Exchange100 gt to 3450.36 stx
500 GT
17251.808834 STX
Exchange500 gt to 17251.81 stx
1000 GT
34503.617667 STX
Exchange1000 gt to 34503.62 stx

In the table provided above, you'll find a comprehensive GT to STX converter, demonstrating the relationship between the value of GateToken and Stacks across various frequently used conversion amounts. The list encompasses conversions from 1 GT to STX all the way up to 1000 GT, offering a clear insight into their respective values.

Cara mendapatkan GT dengan STX

    Exchange Steps
  1. 1

    Pilih pasangan penukaran kripto

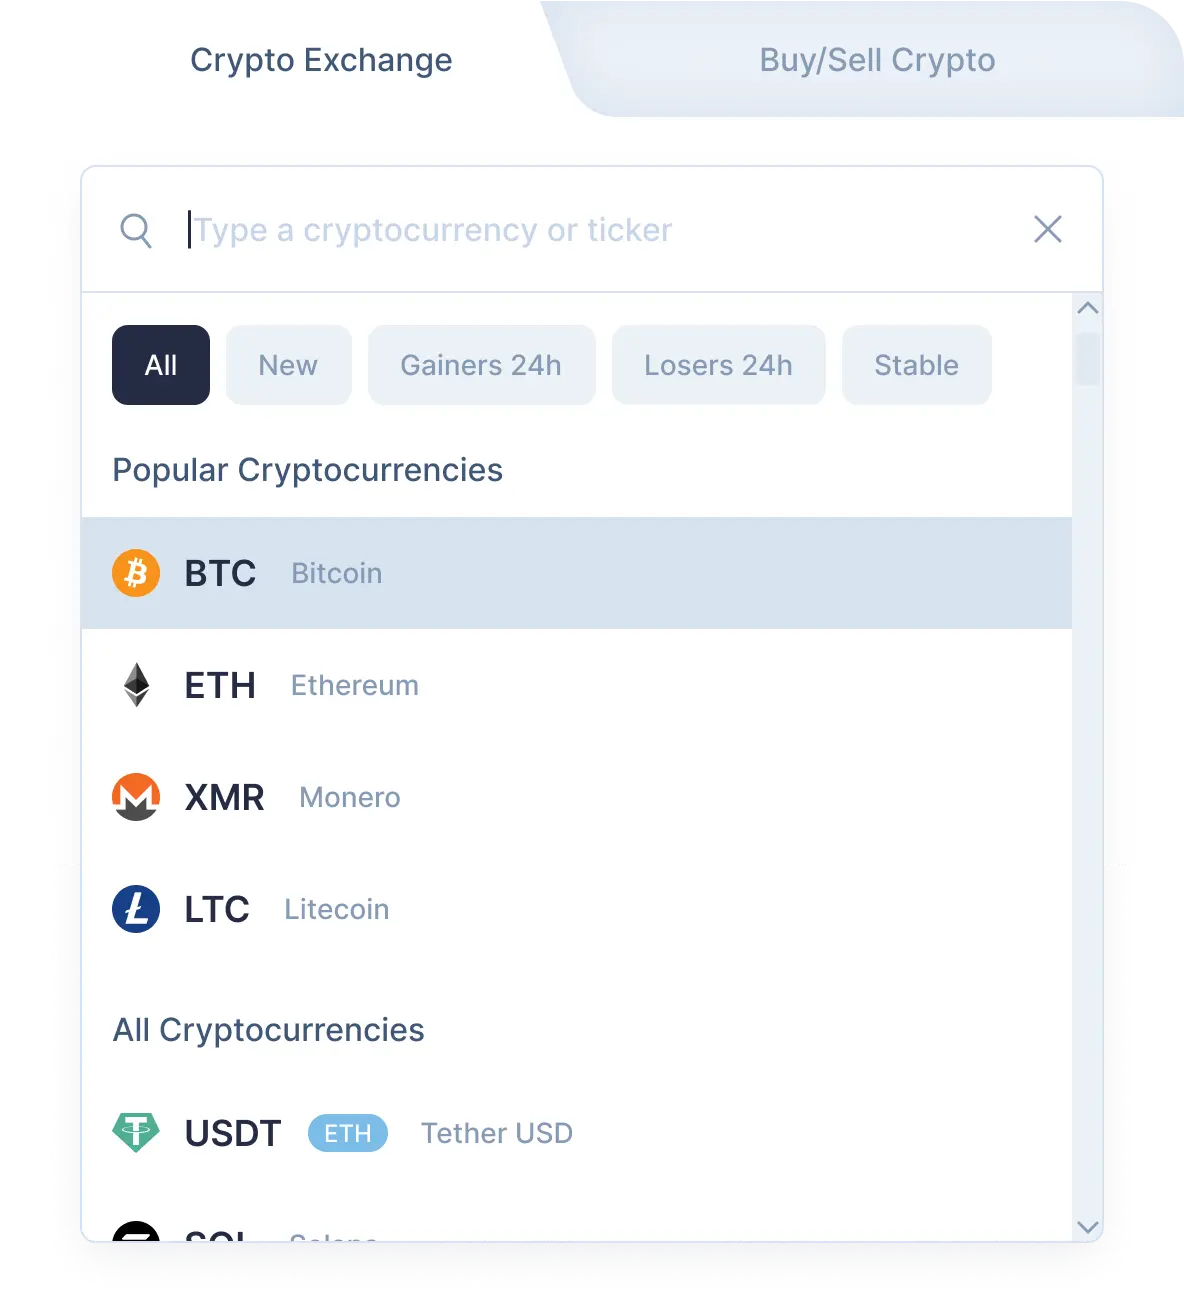
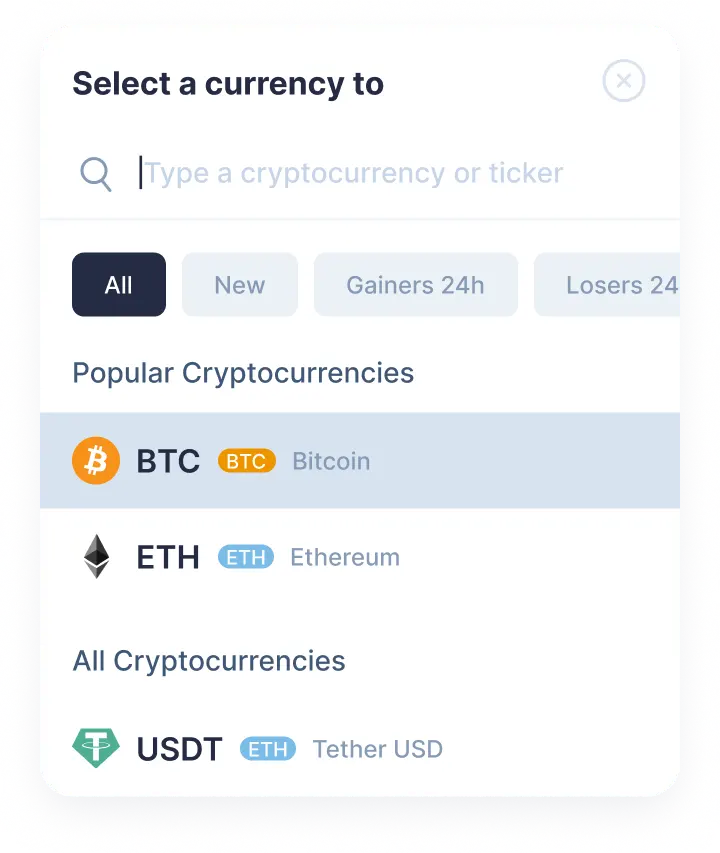
    Pilih Stacks (stx) di bagian “Anda mengirim” menggunakan daftar drop-down. Lalu, masukkan nominal stx yang ingin Anda tukar. Kemudian pilih GateToken (gt) di bagian “Anda menerima”. Setelah itu, Anda akan melihat perkiraan nominal gt yang akan Anda terima.Harap diingat, ada nominal minimal untuk setiap penukaran. Jangan mengirim nominal yang lebih kecil dari nominal minimal.

    Step 1
    Step 1
  2. 2

    Masukkan alamat penerima

    Sekarang Anda perlu memasukkan alamat GateToken penerima. Lakukan dengan sangat hati-hati dan periksa kembali alamat gt Anda. Koin GateToken Anda akan dikirim ke alamat ini segera setelah penukaran.Sekali lagi, pastikan semua data benar. Setelah semuanya benar, klik tombol Tukar, dan Anda akan dialihkan ke halaman penukaran.

  3. 3

    Kirim dan terima mata uang kripto

    Di halaman penukaran, Anda akan melihat alamat untuk mengirimkan nominal Stacks yang ditampilkan untuk melanjutkan penukaran stx/gt Anda.Setelah menerima deposit di alamat kami, kami akan mengirimkan GateToken kepada Anda. Itu saja! Beberapa saat kemudian, koin GateToken akan tiba di alamat gt Anda.

  4. 4

    Receive cryptocurrencies

    Once we get your deposit, we will convert it, which might take a while. We will then send the GateToken to the wallet address you provided for receiving it.

Step 1

Why exchange on SimpleSwap?

  • Privacy

    Sign-up is not required

    SimpleSwap provides cryptocurrency exchange without registration.

    Privacy preview
  • Wide choice

    1000+ cryptocurrencies

    Hundreds of crypto and fiat currencies are available for exchange.

    Wide choice preview
  • 24/7 support

    You won’t be left alone

    Our support team is easy to reach and ready to answer your questions.

    24/7 support preview
  • Safety

    Non-custodial

    Crypto is sent directly to your wallet, we don’t store it on our service.

    Safety preview

Our Users' Reviews

Other Options to Swap GateToken

Explore many other swap options that will allow you to acquire GateToken (GT)

Watch a tutorial

How to Exchange Crypto

If you want to know how to swap STX to GT on our service, this tutorial is just what you need. Find all the necessary instructions in this video.