SushiSwap Fundamental Analysis

Key Insights
- SushiSwap offers a vast variety of tools, mechanisms, and features that allow for many DeFi services
- Users can earn SUSHI tokens by providing liquidity to various pools on the exchange
- The detailed guides on how to use SushiSwap for token exchange, provision of liquidity, and farming
What Is SushiSwap
SushiSwap is an Ethereum-based decentralized exchange (DEX) that was created with the objective of providing a user experience for exchanging tokens, providing liquidity, and earning SUSHI tokens. It was launched in September 2020.
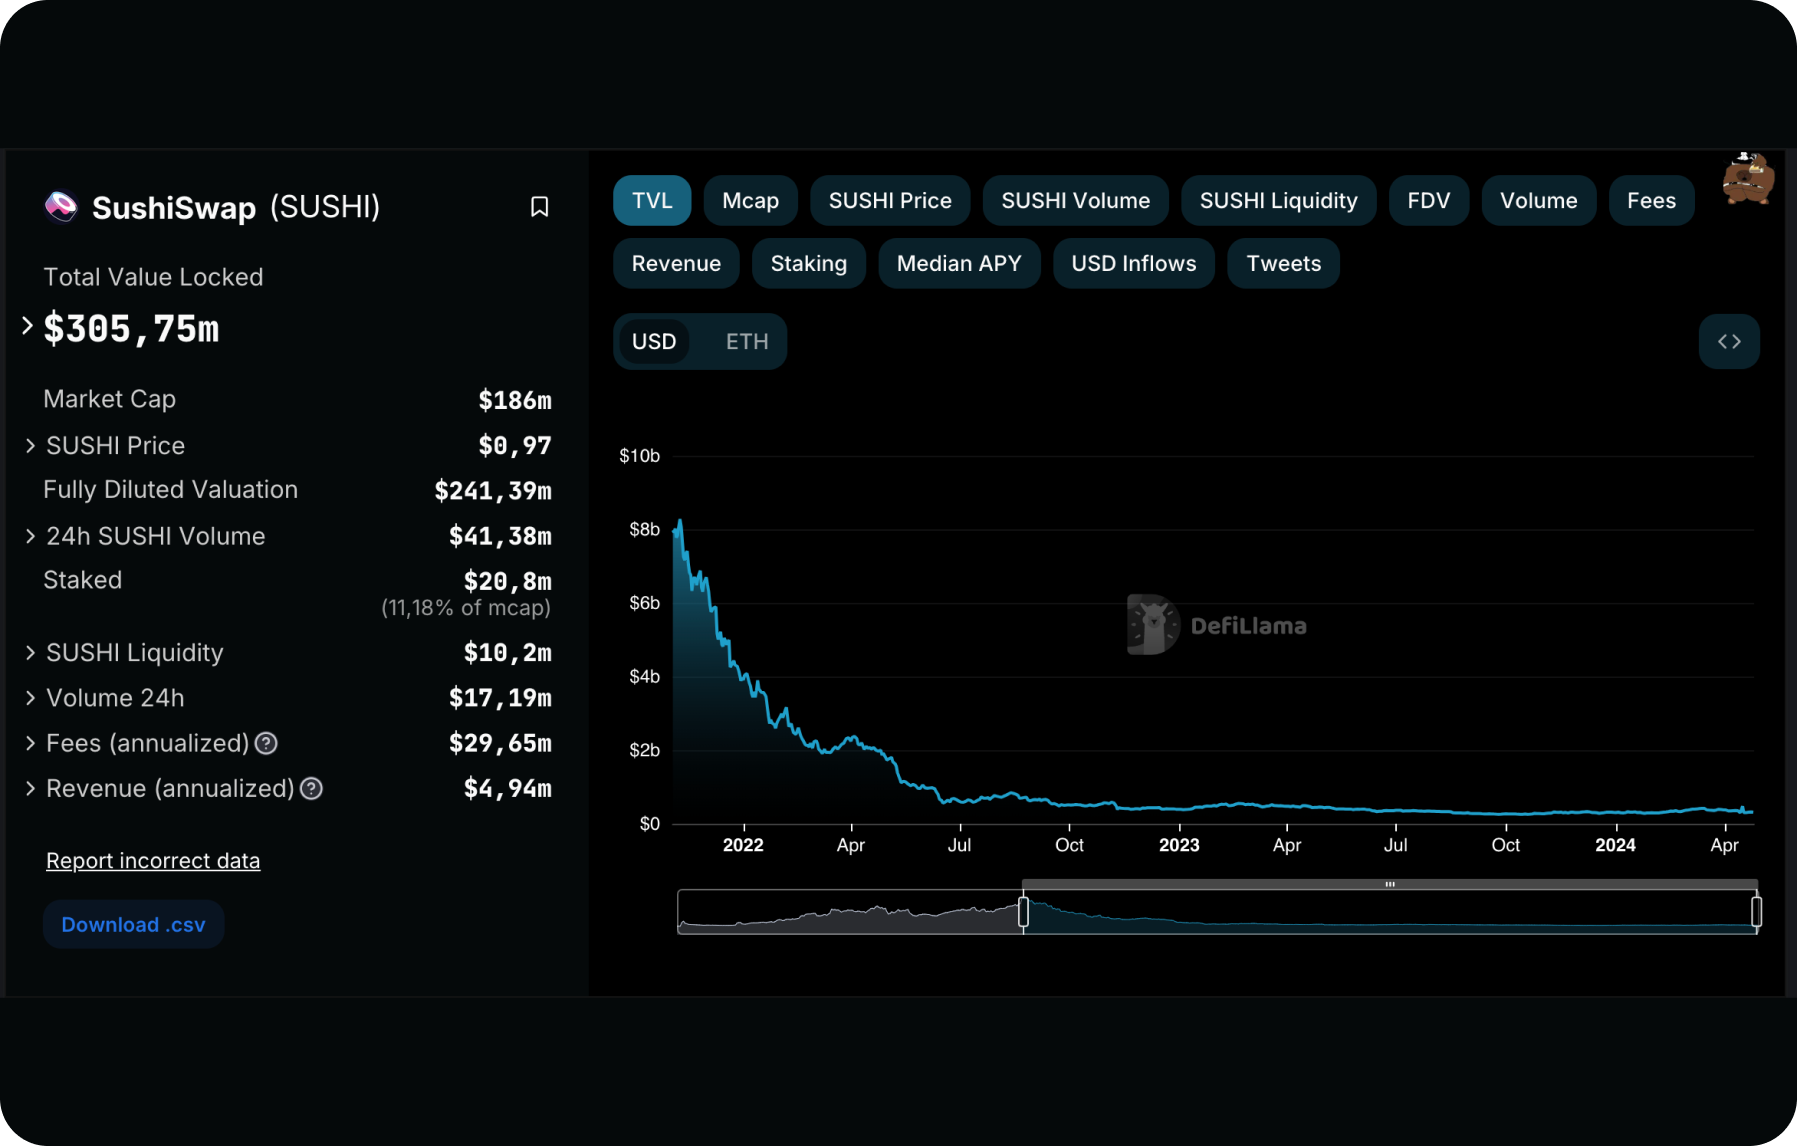
SushiSwap was created as a fork of the Uniswap protocol, which is the first and most well-known example of a decentralized exchange on Ethereum. However, SushiSwap offers additional features and mechanisms to incentivize user participation.
One of the key features of SushiSwap is the SUSHI token farming mechanism. This mechanism allows users to earn SUSHI tokens, which incentivizes participation and ensures a constant supply of liquidity on the platform.
Furthermore, SushiSwap provides additional features, including the ability to vote for protocol management using the SUSHI token, the aggregation of liquidity from various sources to offer the most optimal prices and trading conditions, and the utilization of SUSHI as a staking mechanism to earn additional rewards.
SushiSwap Token Exchange Guide
Step 1: Accessing SushiSwap
- Begin by navigating to the SushiSwap website through your internet browser.
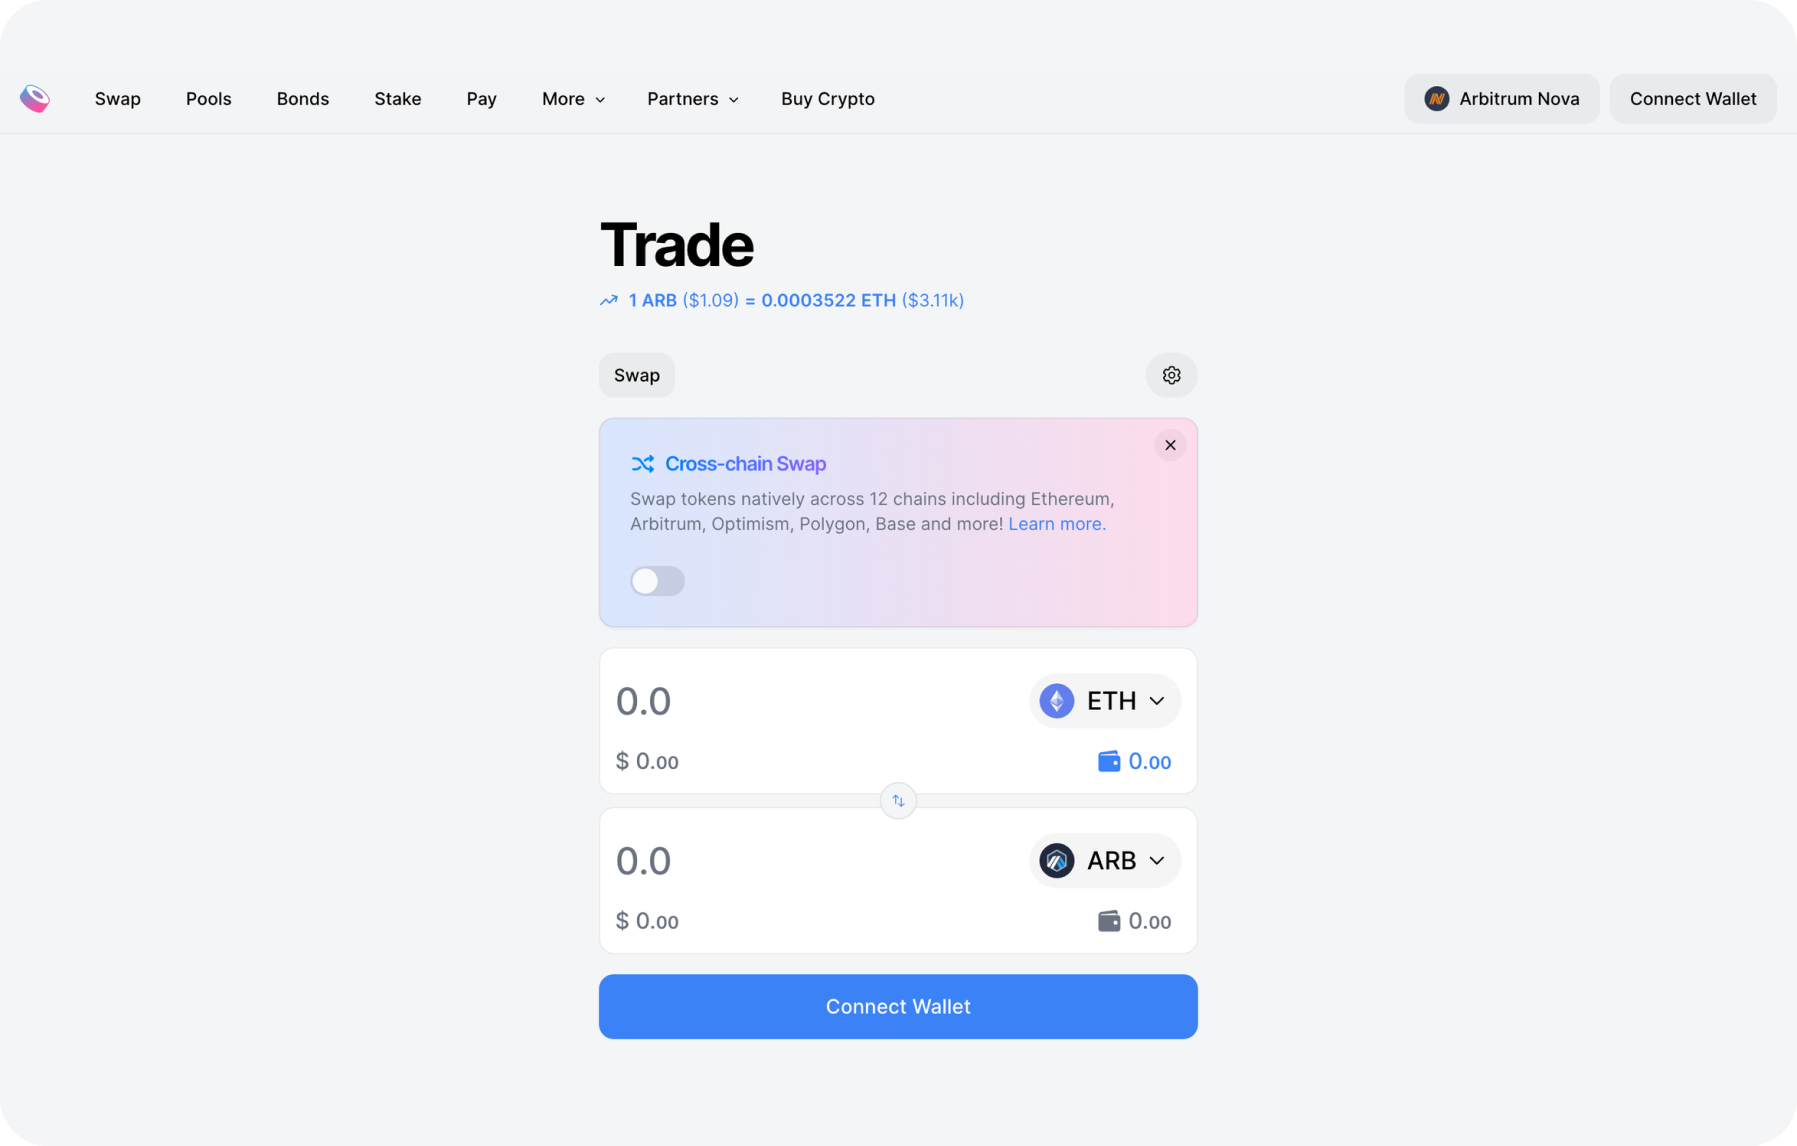
- Connect your wallet with SushiSwap by selecting the Connect Wallet option situated in the upper right corner of the screen. Choose your wallet from the provided list and adhere to the prompts to establish the connection.
Step 2: Token Selection
- Once your wallet is linked to SushiSwap, proceed to the Swap tab located in the top menu.
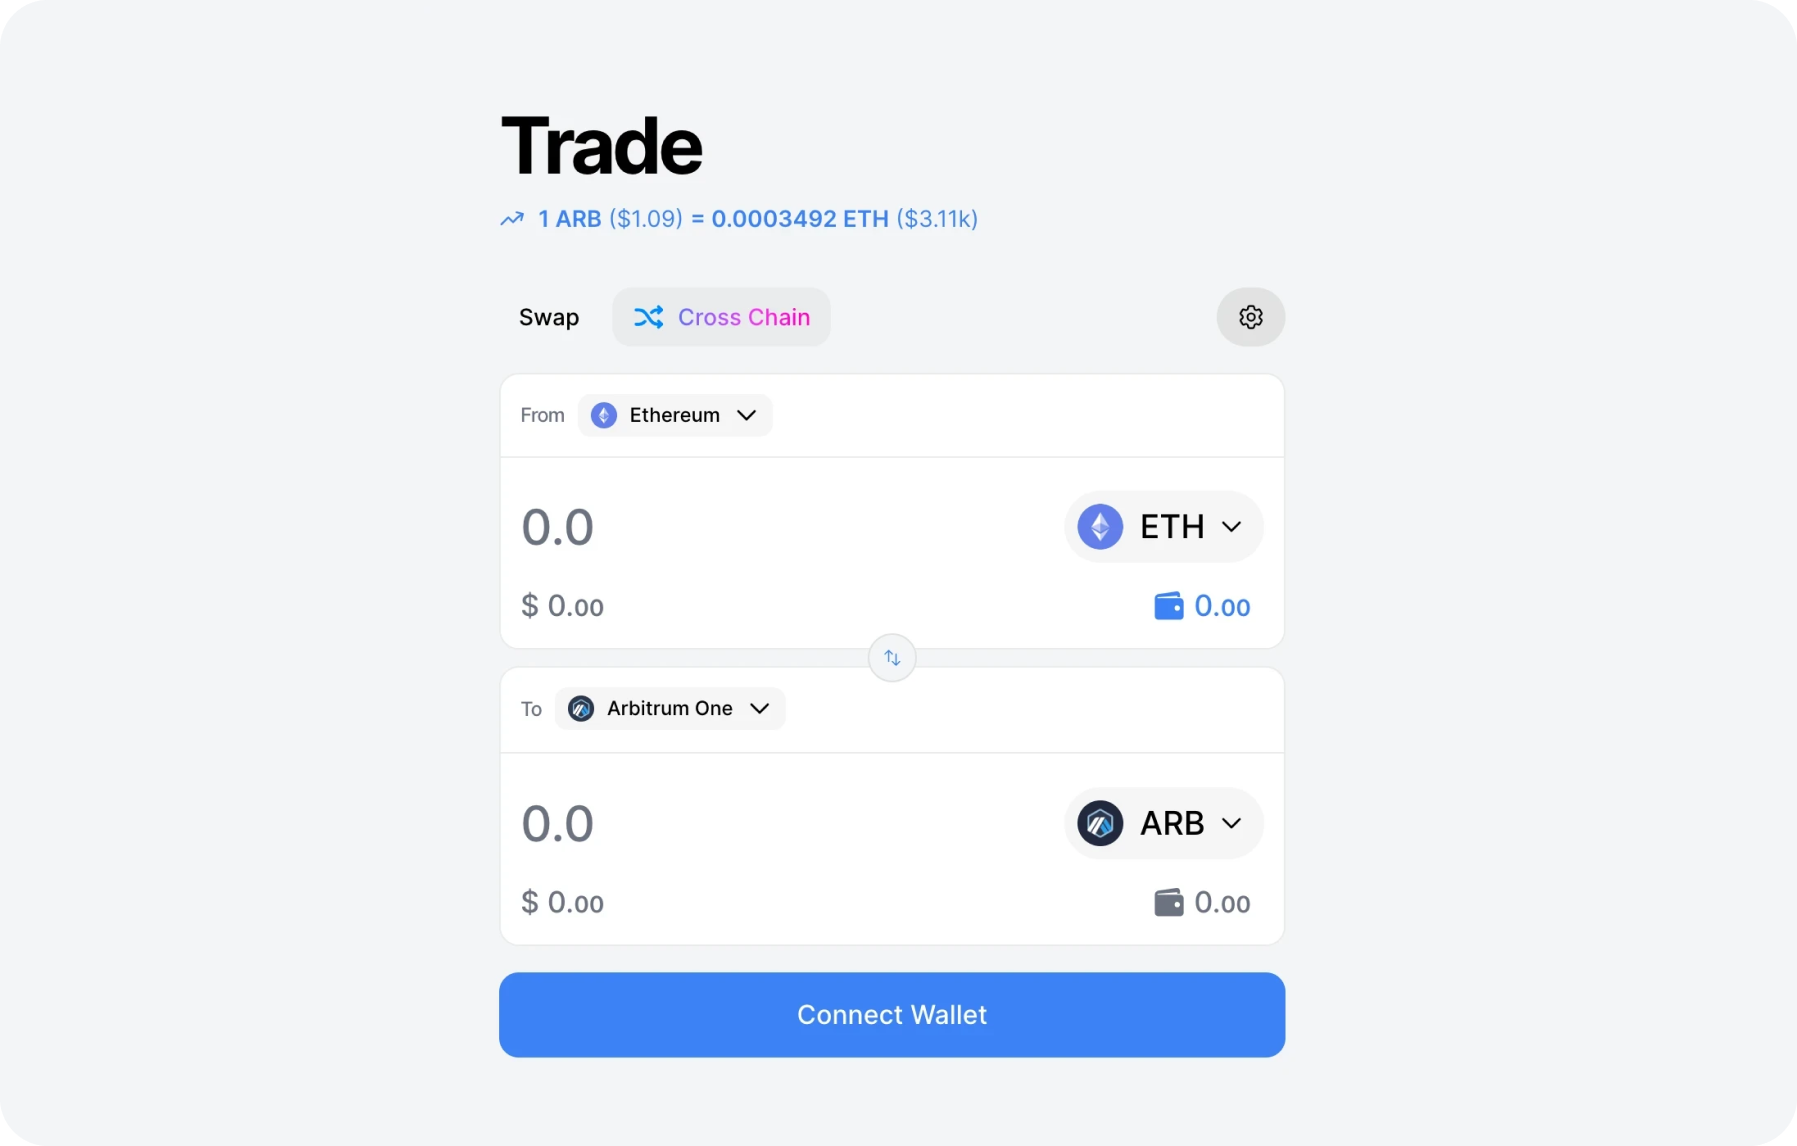
- Under the From section, designate the token you wish to exchange. You can either input the token's name or select it from the dropdown menu.
- Beneath the To section, indicate the token you desire to receive in exchange for the initial token. You may also input the token's name or choose it from the list.
Step 3: Amount Specification and Price Verification
- Enter the quantity of tokens you intend to swap within the Amount field under the From section.
- Upon inputting the amount, SushiSwap will automatically compute the resulting number of tokens based on prevailing exchange rates.
- Review the exchange rate information and the projected quantity of tokens to be acquired.
Step 4: Confirmation of Exchange
- After confirming the trade details, proceed to click on the Swap button to initiate the exchange.
- In the ensuing window, verify the transaction parameters such as the quantity of tokens to be exchanged and received, along with the transaction fee.
- Authenticate the transaction within your wallet by adhering to the instructions provided, which may entail entering a password or executing the transaction via your smart contract.
Step 5: Monitoring Transaction Status
- Following confirmation within your wallet, await the processing of the transaction by the Ethereum network.
- To track the transaction's progress, utilize a blockchain explorer such as Etherscan by inputting your wallet address or transaction hash.
- Upon successful completion of the transaction, your newly acquired tokens will be visible within your wallet.
Instructions for Providing Liquidity on SushiSwap
Step 1: Accessing SushiSwap
- Commence by accessing the SushiSwap website via your internet browser.
- Establish a connection between your wallet and SushiSwap by locating and clicking the Connect Wallet button situated in the upper right corner of the interface. Proceed to select your wallet from the provided options and adhere to the instructions to establish the connection.
Step 2: Navigation to the Liquidity Section
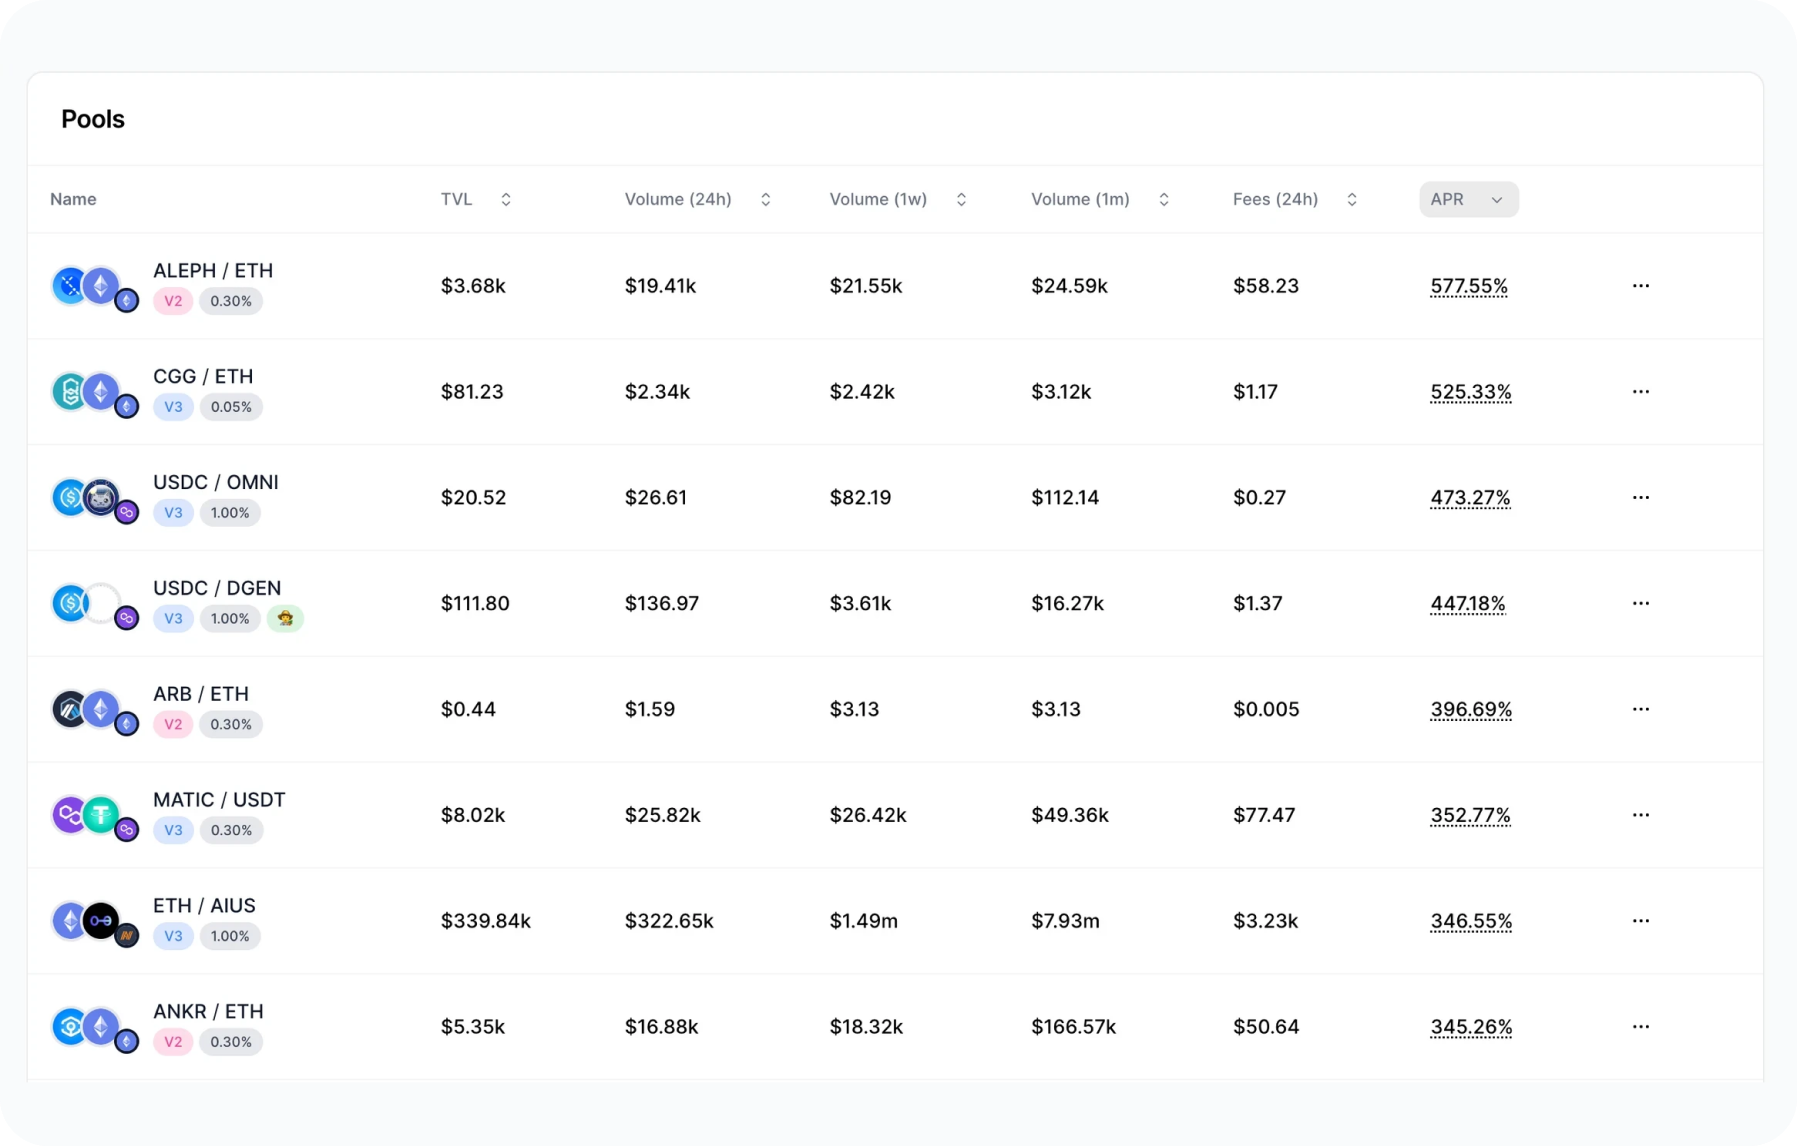
- Once your wallet is successfully linked with SushiSwap, proceed by selecting the Pools tab located within the top menu.
Step 3: Adding Liquidity
- Upon entering the Pools page, a selection of available liquidity pools will be displayed. Choose the desired poolwhere you intend to contribute your tokens.
- Select the designated pool to proceed.
- Within the ensuing window, specify the tokens you wish to contribute to the liquidity pool and indicate the quantity of each token.
- SushiSwap will automatically compute the corresponding amount of the second token required to establish a pair. Ensure that you possess sufficient quantities of both tokens for liquidity provision.
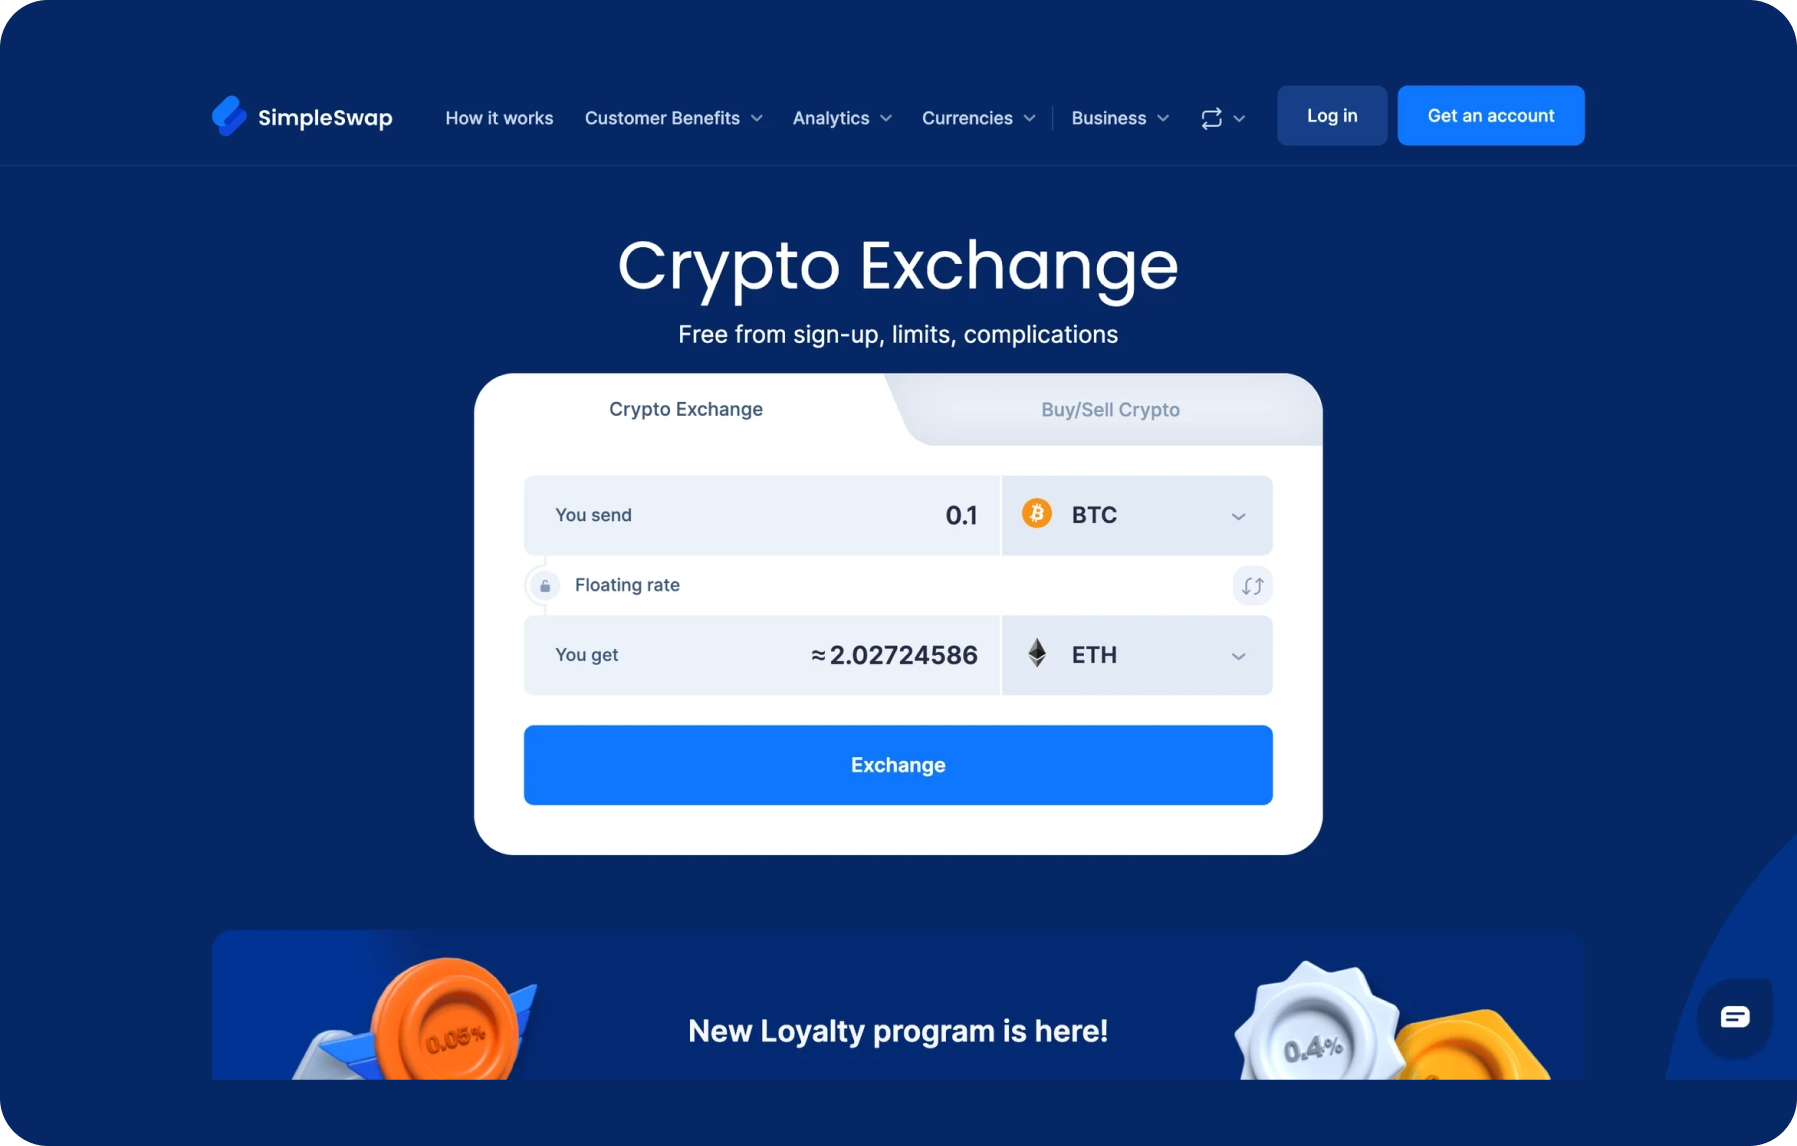
- If necessary, acquire the requisite tokens through SimpleSwap.
- Upon inputting the desired quantities of each token, proceed to click on the Approve button to grant access to your tokens.
- Upon successful authorization, click on Supply to contribute tokens to the liquidity pool.
- In the subsequent window, review the transaction parameters and confirm the transaction within your wallet.
Step 4: Earning Commissions
- Upon successfully contributing tokens to the liquidity pool, you become a member of the pool.
- You will accrue commissions based on trades executed within this pool. Commissions are distributed proportionally according to your share of the total liquidity within the pool.
- Monitor your earnings by accessing liquidity pool information or utilizing the analytical tools provided by SushiSwap.
SushiSwap Farming Guide
Step 1: Accessing SushiSwap
- Begin by launching the SushiSwap website in your internet browser.
- Connect your wallet to SushiSwap by locating and clicking on the Connect Wallet button positioned in the upper right corner of the interface. Select your wallet from the provided options and proceed with the instructions to establish the connection.
Step 2: Navigating to the Farming Section
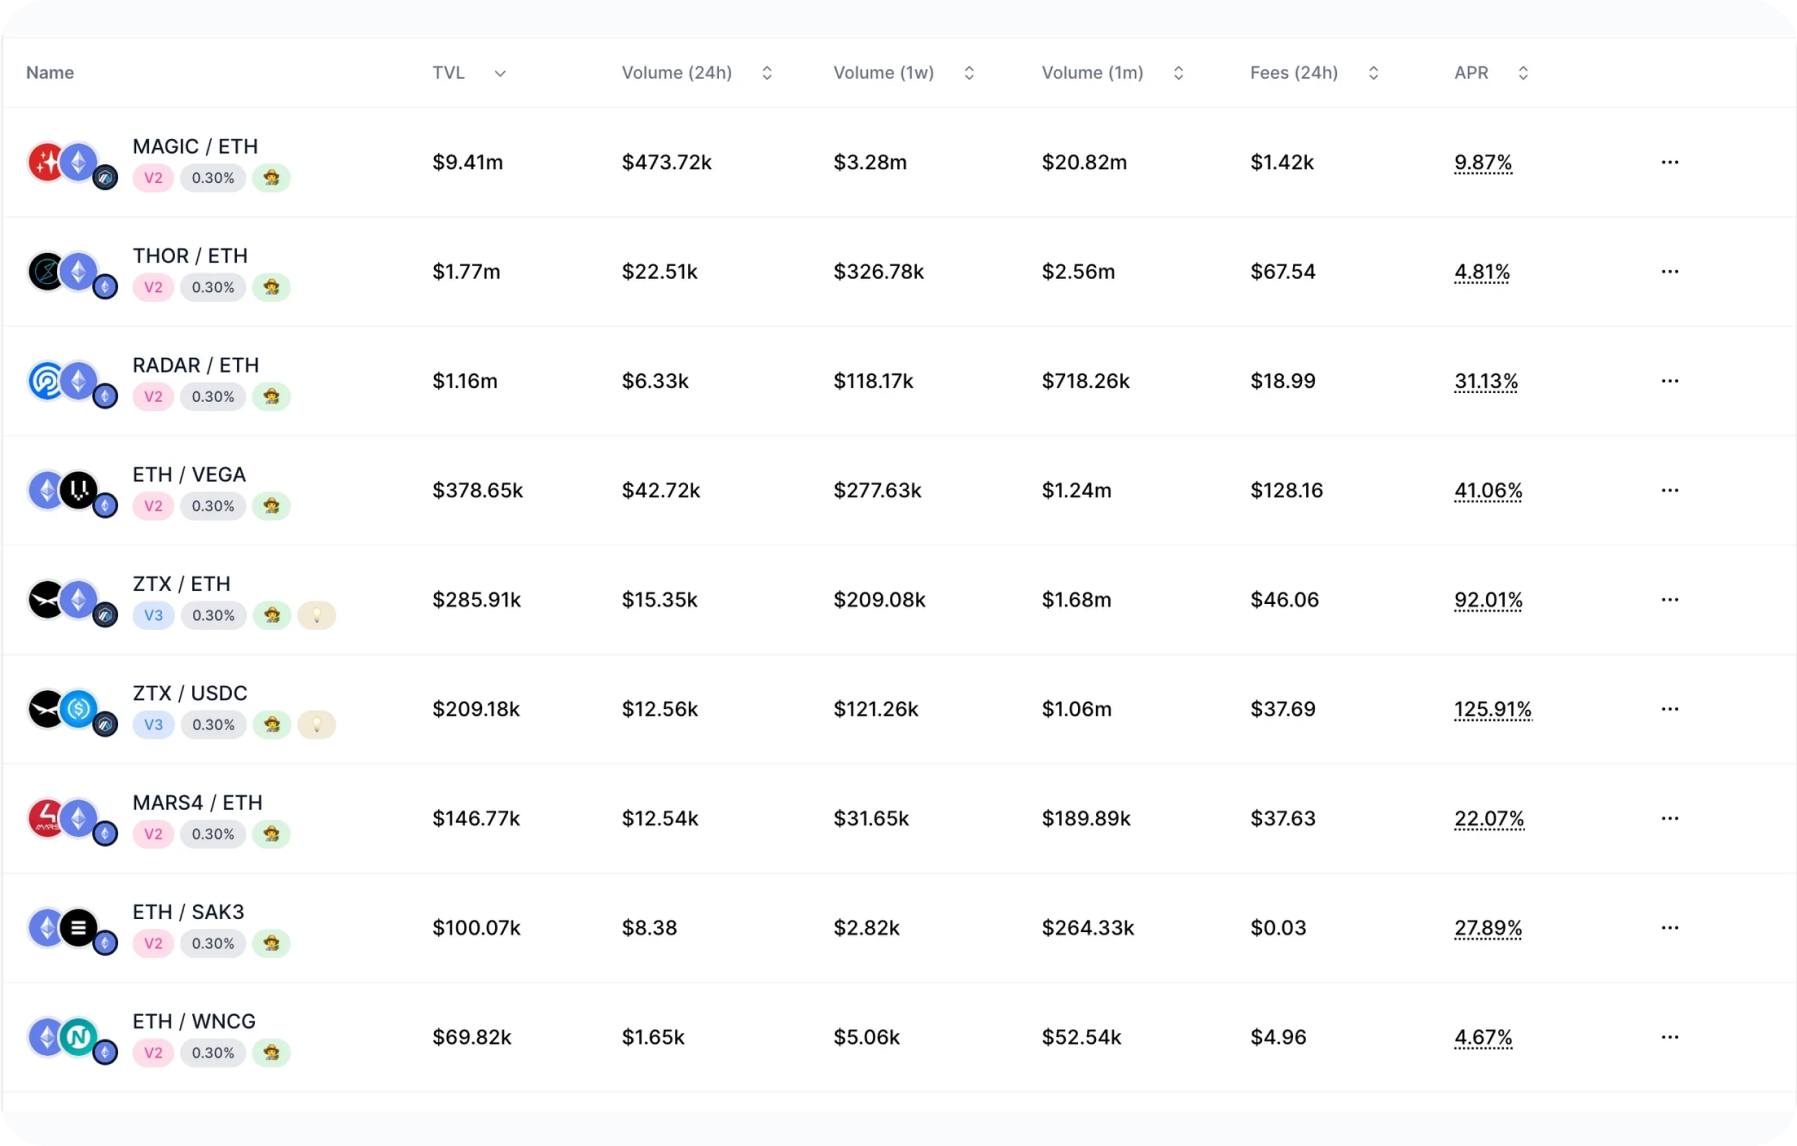
- Upon successfully linking your wallet to SushiSwap, proceed to the top menu and access the Pools tab. To streamline your search, filter the displayed pools by selecting Farms only.
Step 3: Selecting a Farming Pool
- Upon filtering, you'll be presented with a comprehensive list of available farming pools, each associated with a specific token trading pair.
- Choose the farming pool you wish to allocate your farming tokens to by clicking on it.
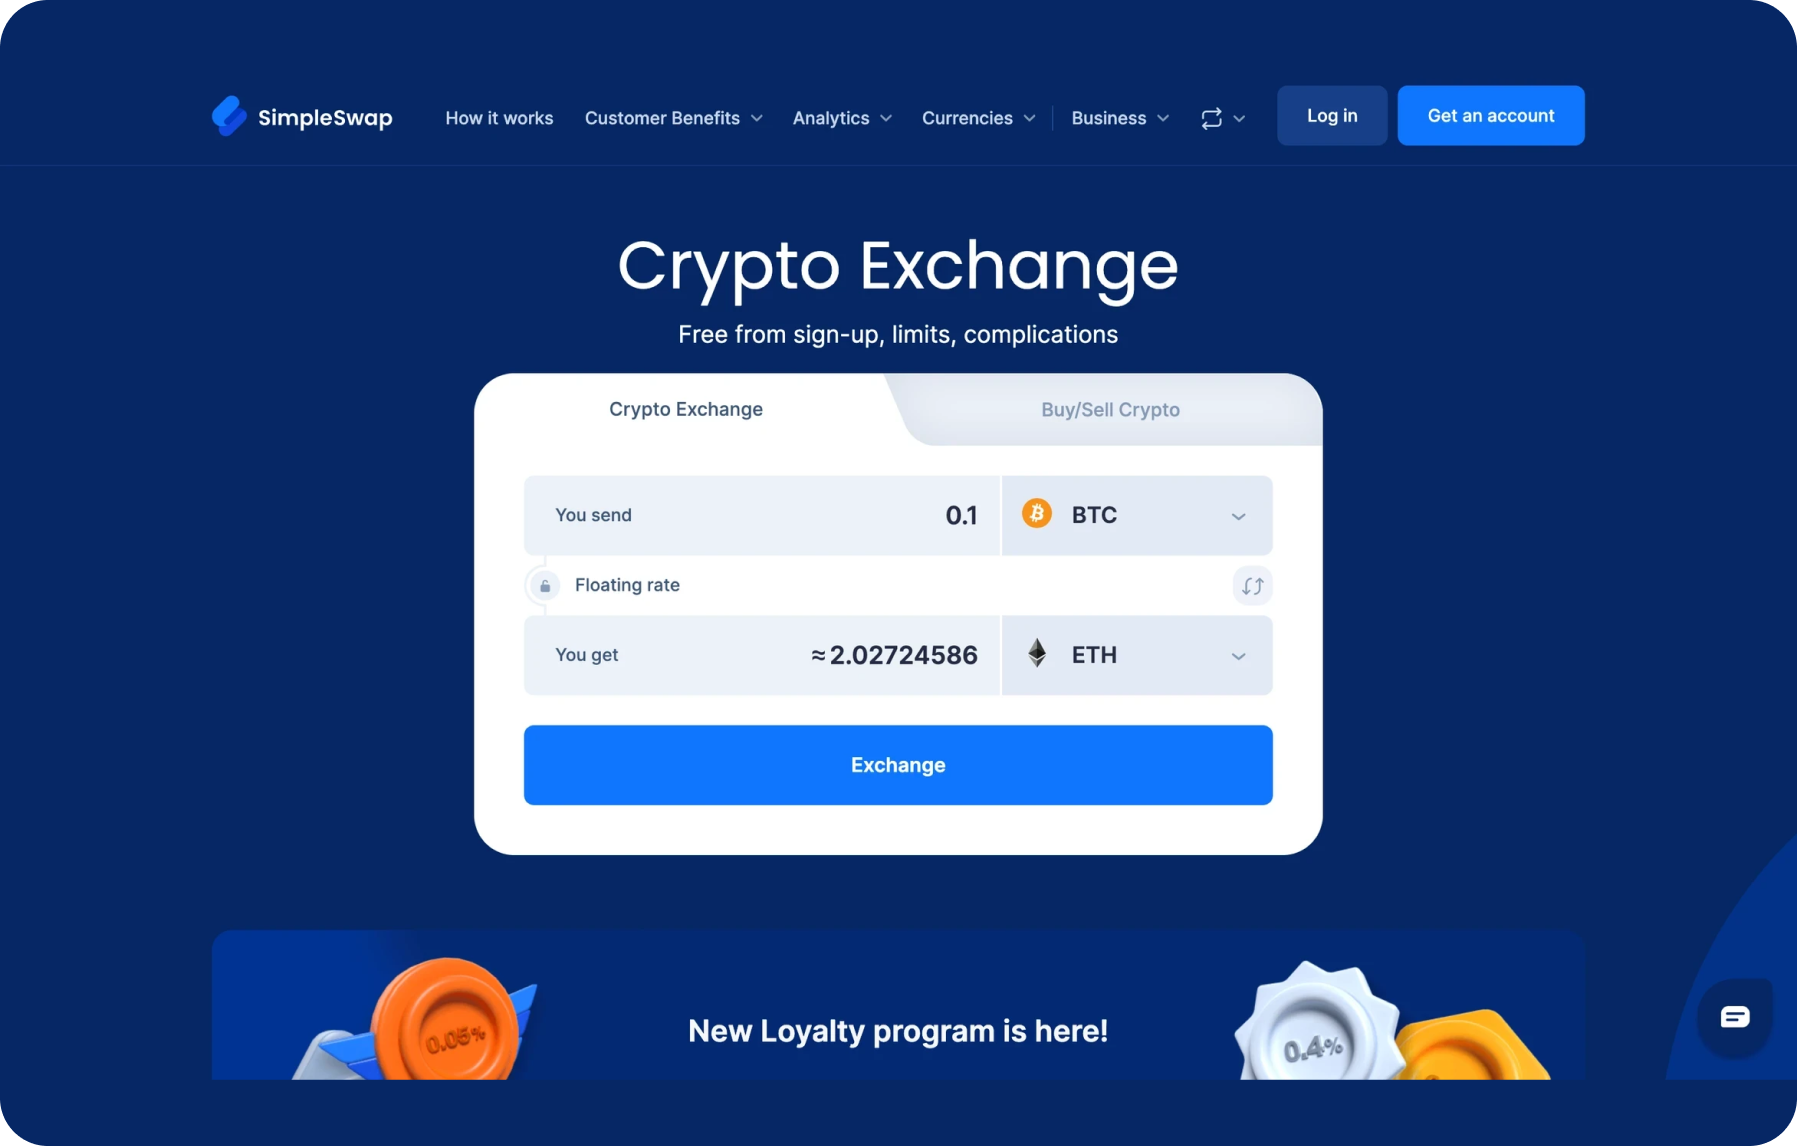
- If necessary, acquire the desired tokens via SimpleSwap.
Step 4: Adding Tokens to the Pool
- Upon selecting a farming pool, detailed information about it, such as current reward in tokens, APR (annual percentage rate), and other pertinent data, will be displayed.
- Click on the Enter Amount button within the chosen pool.
- In the ensuing window, input the quantity of tokens you intend to invest in the farming pool.
- Confirm the transaction within your wallet.
Step 5: Earning SUSHI Tokens
- Following the addition of tokens to the farming pool, you'll commence earning tokens as rewards.
- Rewards are distributed proportionally based on your stake within the pool's total liquidity.
- Monitor your activity and earnings by accessing farming pool information or utilizing the analytical tools provided by SushiSwap.
Users can get SUSHI for fiat or crypto on SimpleSwap.
Summary
SushiSwap DEX has gained momentum since its launch in 2020. SushiSwap is popular due to its innovative farming model and active community of participants. It continues to evolve and add new features, making it one of the important platforms in the world of decentralized finance (DeFi) on Ethereum.
In this article we provided three detailed instructions for services that you can use SushiSwap for: token exchange, providing liquidity, and farming.
The information in this article is not a piece of financial advice or any other advice of any kind. The reader should be aware of the risks involved in trading cryptocurrencies and make their own informed decisions. SimpleSwap is not responsible for any losses incurred due to such risks. For details, please see our Terms of Service.


